
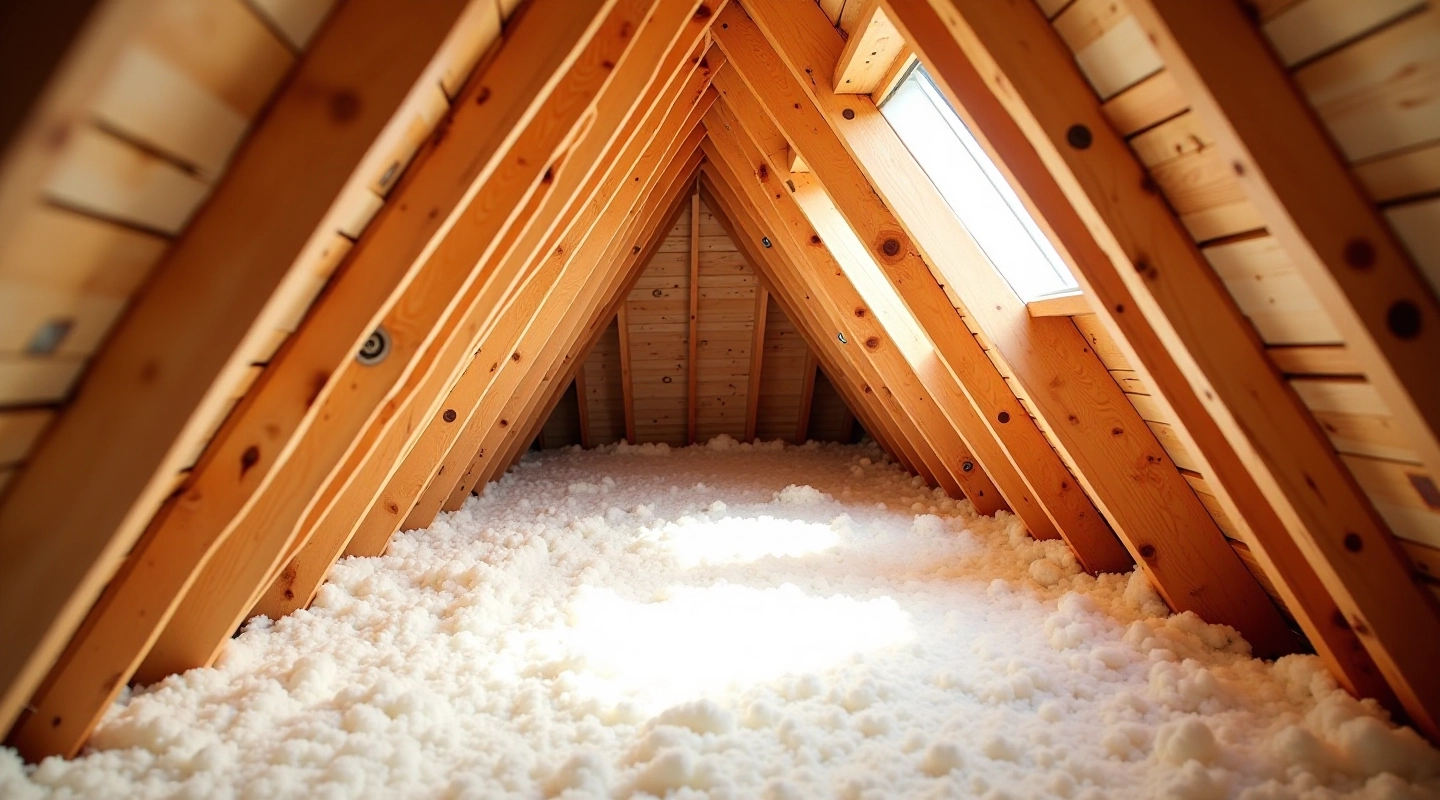
Understanding Blown Fibre Insulation
Learn what blown fibre is, how it works, and why it's effective for attic retrofits.
Read More
Step-by-step instructions for evaluating your current insulation, spotting problem areas, and planning your retrofit project.
You can't fix what you don't understand. Before you even think about adding new insulation, you need to know exactly what's already up there, what shape it's in, and where the problems hide. We're talking about moisture damage, settling, gaps, and thermal bridging — the stuff that costs money if you miss it.
This guide walks you through a proper assessment. Not a quick glance — a real evaluation that takes maybe 2-3 hours and gives you the information you actually need to plan the right retrofit.


Don't skip the safety stuff. Old insulation can contain dust and particles you don't want breathing in. You'll need a decent respirator — not a dust mask, an actual N95 or P100 — and wear long sleeves. Seriously. It's annoying but your lungs will thank you.
Educational information: This guide is designed to help you understand attic assessment processes. If you find signs of serious damage, mold, or structural issues, consult with a qualified contractor or structural engineer. Attic work carries risks — proper safety equipment and precautions are essential.
Measure insulation depth in at least 5-6 different spots. Don't just measure one area — insulation settles unevenly. The eaves might have 4 inches while the center has 8 inches. You're looking for the minimum and maximum depths, plus you want to know what's above the wall plates and what's above the hallway.
Record everything. Create a simple sketch of your attic layout — just a rough rectangle showing where walls are, where your HVAC sits, and where you took measurements. Mark the depth readings right on the sketch. This becomes your baseline document.
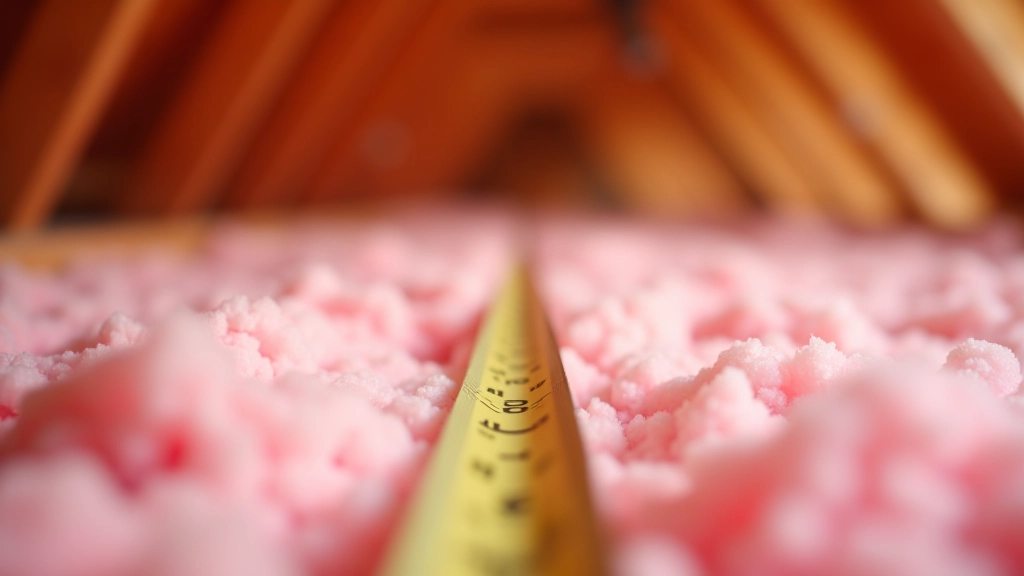
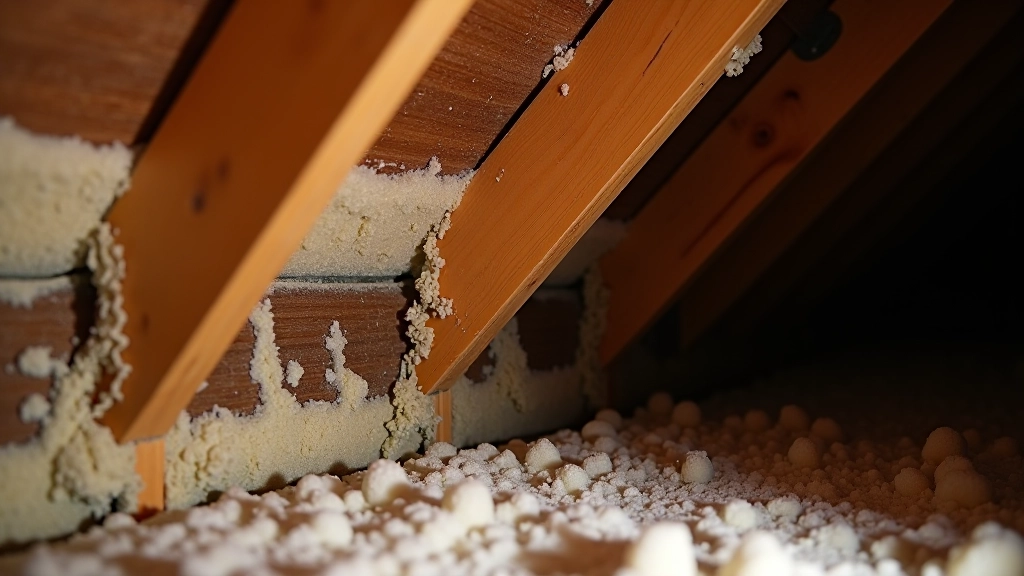
This is where the moisture meter becomes your best friend. Healthy insulation should read between 10-15% moisture. Anything higher and you've got a problem. Use the meter around soffit areas, near exterior walls, and anywhere you see discoloration or dark spots.
Look for settled areas — places where the insulation has compacted and lost its fluff. Settled insulation doesn't perform. You're also checking for gaps, particularly around HVAC ducts, plumbing penetrations, and recessed light fixtures. These aren't always obvious from a quick glance.
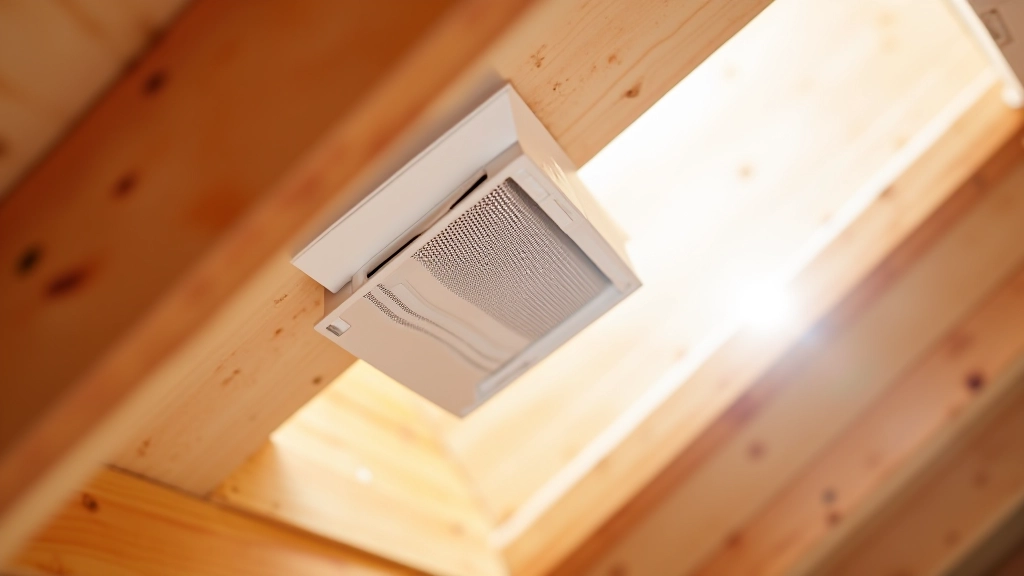
You can't assess insulation without checking ventilation. Look up at the soffit — do you see vents? Walk the attic and look for airflow. Proper attic ventilation means air enters at the soffit and exits at the ridge. If you've got blockages, settling insulation covering vents, or missing ridge vents, that's going into your assessment notes.
Blocked ventilation leads to moisture buildup, which ruins insulation and damages framing. This isn't something you can ignore during a retrofit. You're looking at soffit condition, ridge vent presence, and whether insulation is blocking any of these pathways.

Now you've got data. Take your measurements and notes and figure out what needs to happen. If you've got moisture damage, that's a priority fix before adding new insulation. If insulation is settled, you're adding depth. If there are gaps, you're identifying them for sealing.
Calculate your total attic square footage. Multiply length by width to get the basic number. This tells you how much blown insulation you'll need if that's the direction you're going. Factor in depth — most building codes want R-38 to R-60 depending on your climate zone. In Ireland, you're typically looking at R-35 to R-50 for retrofit work.
Your assessment document is now your roadmap. You know what you're working with, you've identified problems, and you've got measurements that make sense. Before you move forward with actual retrofit work, you might want to get a second opinion from a professional — especially if you found moisture issues or areas of uncertainty.
The assessment itself takes time but saves money and prevents costly mistakes later. You're not guessing anymore. You're building your retrofit plan on solid information.

Author
Editorial Team
Written by the primholm Editorial Team, focused on practical, accurate guidance for attic insulation retrofits and ventilation.
Learn what blown fibre is, how it works, and why it's effective for attic retrofits.
Read More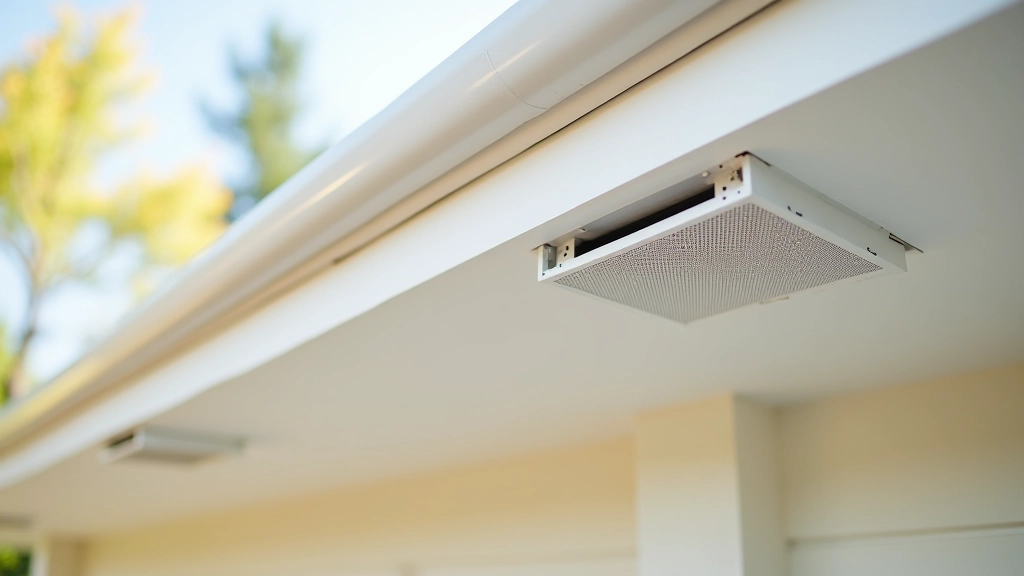
Proper ventilation prevents moisture damage. We cover soffit vents, ridge vents, and how to check yours.
Read More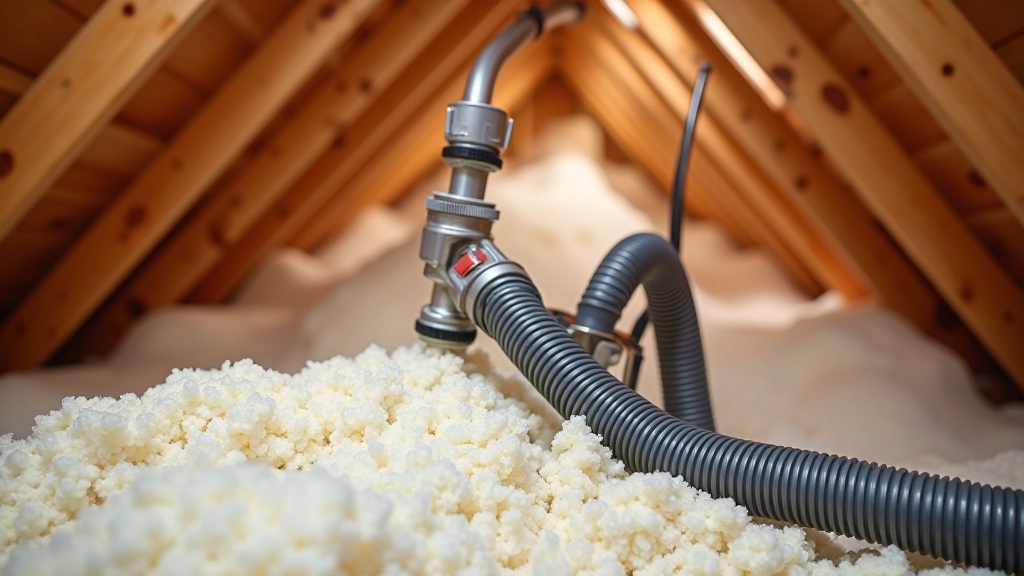
What happens during installation, equipment you'll need, and the biggest mistakes to avoid.
Read More